A flexible coupling should be installed at its manufactured length. Installation in a compressed condition will limit the ability of the coupling to flex adequately. A stretched condition may shorten the life of the coupling by exceeding the elastic limits of the flexing beams.
Installation Procedures
- Remove oil or any foreign substance from the shafts and coupling bores by using a clean tissue and alcohol or solvent. Degreasing solutions frequently have more grease than solution.
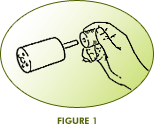
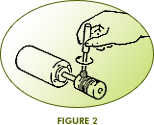
- Fasten the coupling to one shaft (Figures 1 & 2).
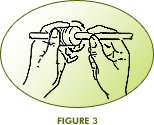
- Place the second shaft into the coupling bore and rotate the coupling in relation to the unfastened shaft, allowing the coupling to seek its normal length. Do not compress or extend the coupling after it has reached its manufactured length (Fig. 3). For blind assemblies, fasten one end of the coupling to the largest shaft. Insert the second shaft and mount the second component firmly in place. Lightly tap on the second hub with the wrench. This will assist the coupling in pushing outward or pulling inward to its manufactured length.
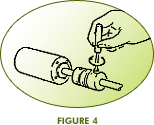
- Fasten the coupling to the second shaft (Fig. 4).
- Check to see that light can be seen clearly between the beams.
Checking for Excessive Misalignment Before Assembly
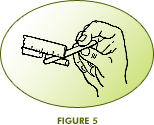
- Place a short steel rule on one shaft. Use a set of feeler gauges to determine the space between the rule and the other shaft (Fig. 5).
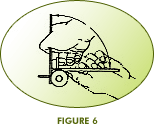
- Rotate 90° from the first checkpoint and repeat the procedure (Fig. 6)
Checking for Excessive Misalignment After Assembly
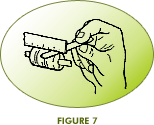
- Place a steel rule on one coupling hub. Use a set of feeler gauges to determine the space between the steel rule and the second hub (Fig. 7).
- Rotate 90° from the first checkpoint and repeat the procedure (Fig.6).
- Check to see that light can be seen clearly between the beams.

